Glazing
So much of the ceramic process is experienced only by the maker. Glazing is one of those. Mixing and applying glaze is a skill honed over many years, mine took two decades.
Two makers can mix the same recipe for a glaze, and get very different results. The thickness of the mixed glaze, and the way the glaze is applied matters immensely.
When I first began creating recipes for my glazes in 2002 in the Materials Class at RISD, I did not know what I was doing. I was following recipes, and was confused when they would turn out differently than the test tiles hanging in the glaze room.
The surface that the glaze is applied to also makes a huge difference. To get the most saturated version of the glazes, I started working only with porcelain, and to add more control, I created my own recipe for the porcelain slip I work with. As materials are discontinued, or become unavailable, I often adjust both the porcelain slip recipe and the recipes for my glazes. I recommend knowing exactly what you are working with.
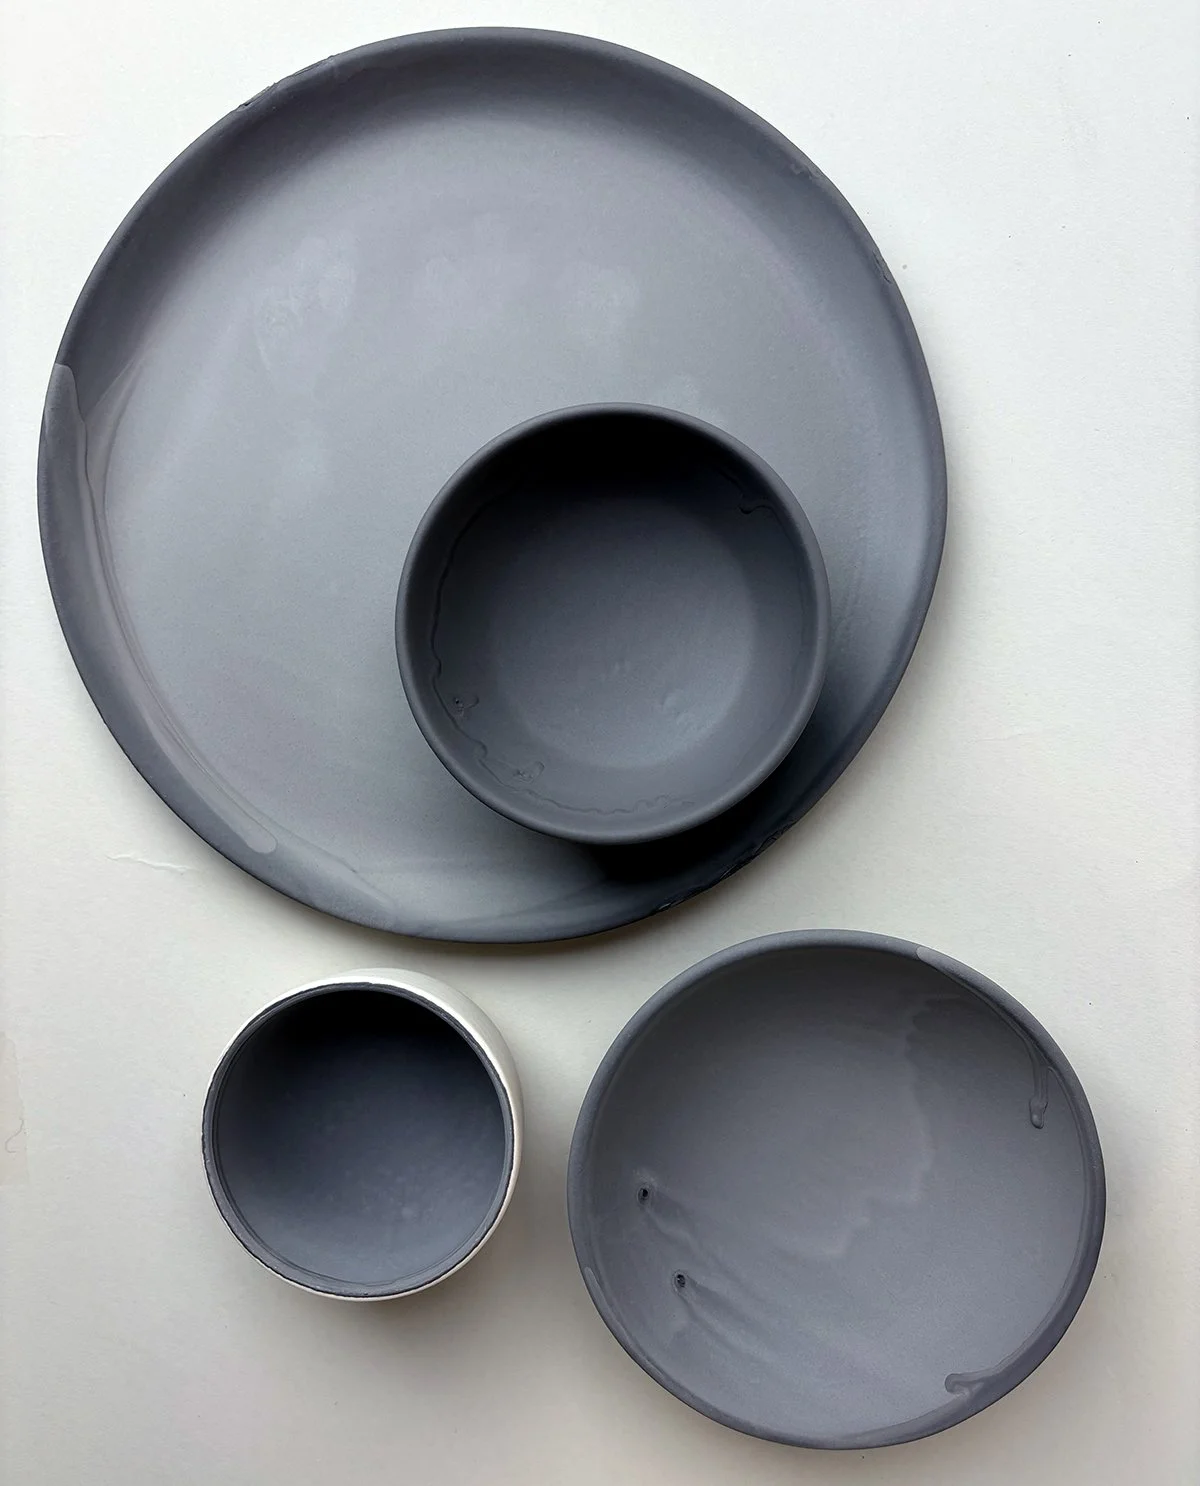
This is what the Cinnamon Serving Set looks like right after it has been dipped in the glaze. Before being fired to 2300° F.
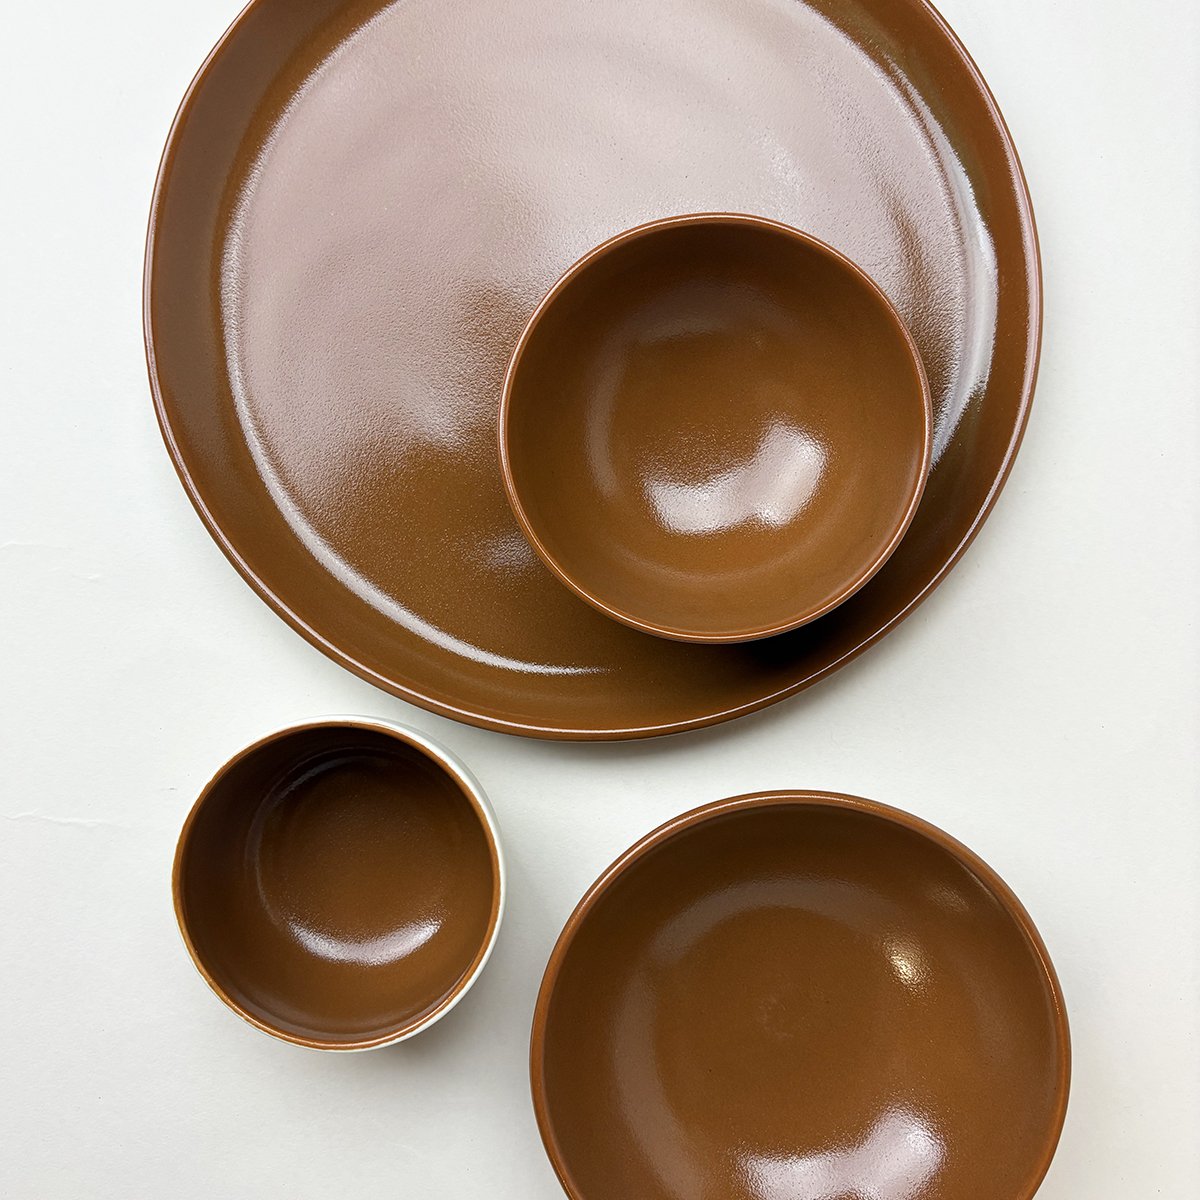
This is what the Cinnamon Serving Set looks like after being fired to 2300°F.
My technique is to dip the piece into the glaze, and hold it under for 6 seconds. This allows the glaze to accumulate on the surface, creating a rich layer of color once fired.
The pieces need to be strong enough to be able to hold this thick layer of glaze, without it crawling during the firing. Crawling is when the glaze crawls away from the surface of the piece because the glaze is too thick. It is a balancing act, and sometimes you do not get the results that you are looking for.
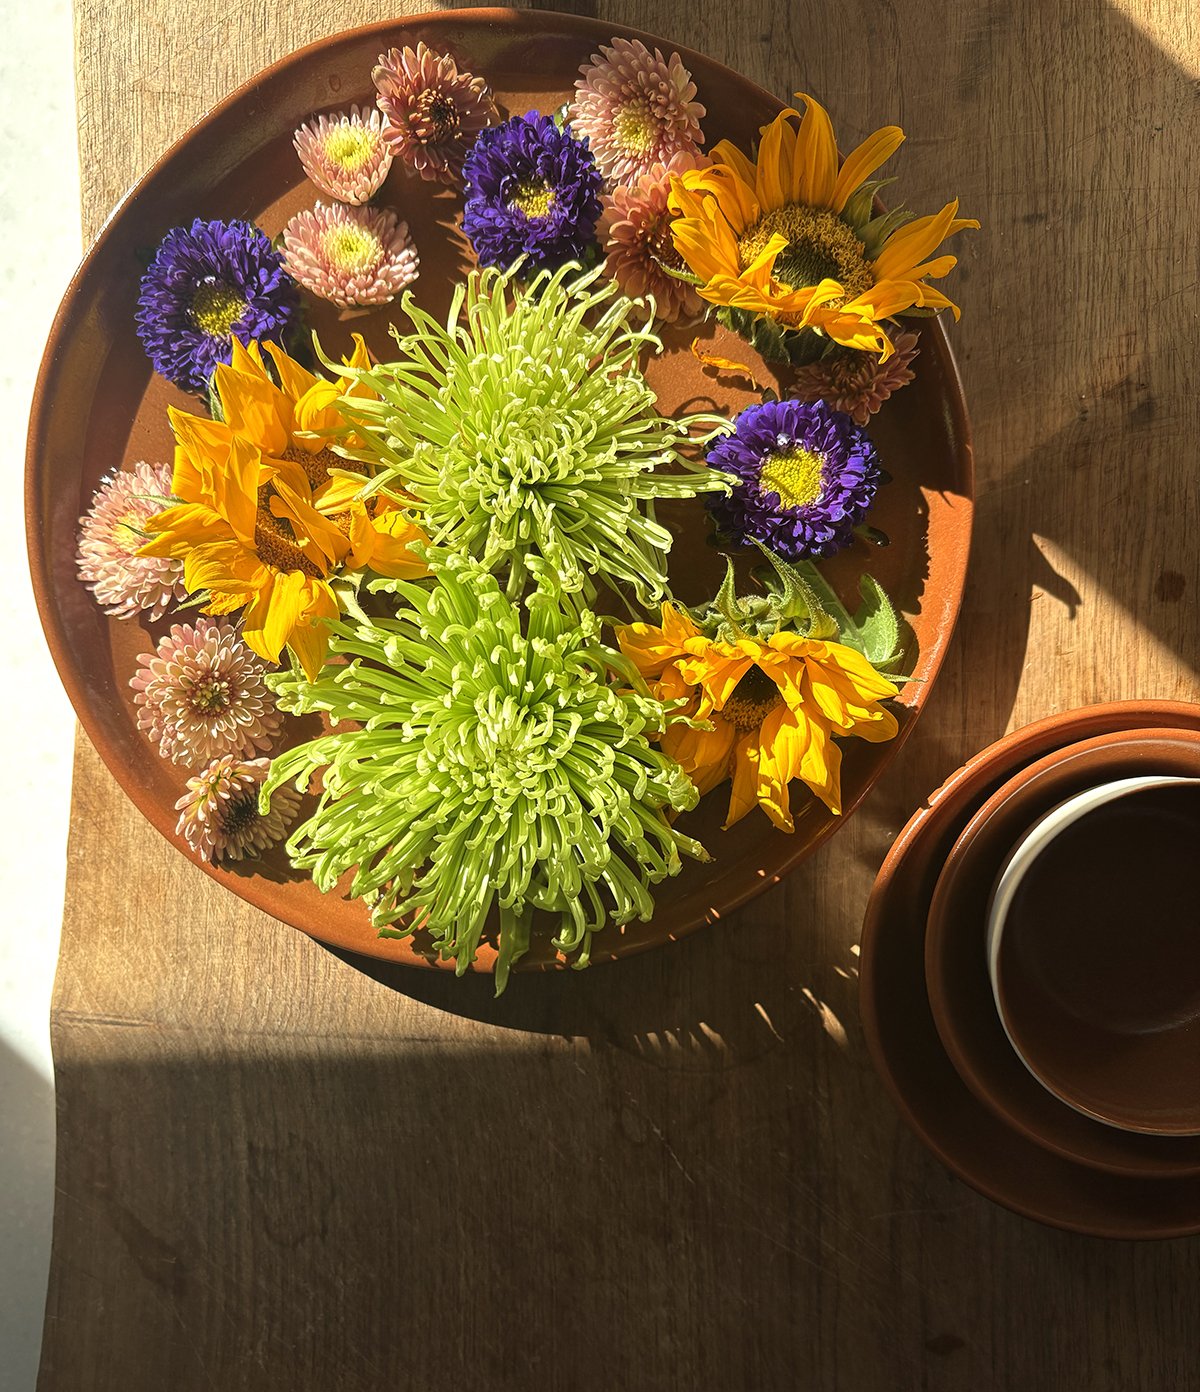
On this Cinnamon Set, I got exactly what I wanted, a delicious, rich brown, which looks amazing paired with food… or flowers.